
Cream remover can make lash removal feel more controlled, but that does not make the service mistake-proof. Most removal issues do not come from the remover alone. They come from rushing, weak setup, poor placement, incomplete cleanup, or treating every lash removal appointment the same way. Public safety guidance and professional tutorials both point in that same direction: technique, hygiene, and service judgment matter as much as product choice. California’s eyelash safety tips emphasize licensed providers, clean and sanitized tools, and hand washing, while OSHA gives specific instructions for cleaning and disinfecting salon tools.
Why Removal Mistakes Matter More Than Most Techs Realize
Removal is not just a cleanup step at the end of a lash appointment. It changes what happens next. A rushed removal can make the service feel less controlled, complicate prep for a fresh set, and leave the client with weaker confidence in the appointment overall. That matters even more around the eyes, where FDA guidance notes that the eyelids are delicate and cosmetic products in this area can still cause irritation or allergic reactions.
From a professional point of view, the better question is not “Did the remover work?” but “Did the workflow stay controlled from start to finish?” That is the mindset behind most strong removal services, and it is also the reason smaller process errors can have a bigger impact than many lash techs expect. California’s public safety guidance reinforces that more professional framing by centering licensure, clean tools, and safe working habits rather than quick fixes.
Mistake 1: Starting the Service Without a Clean, Controlled Setup
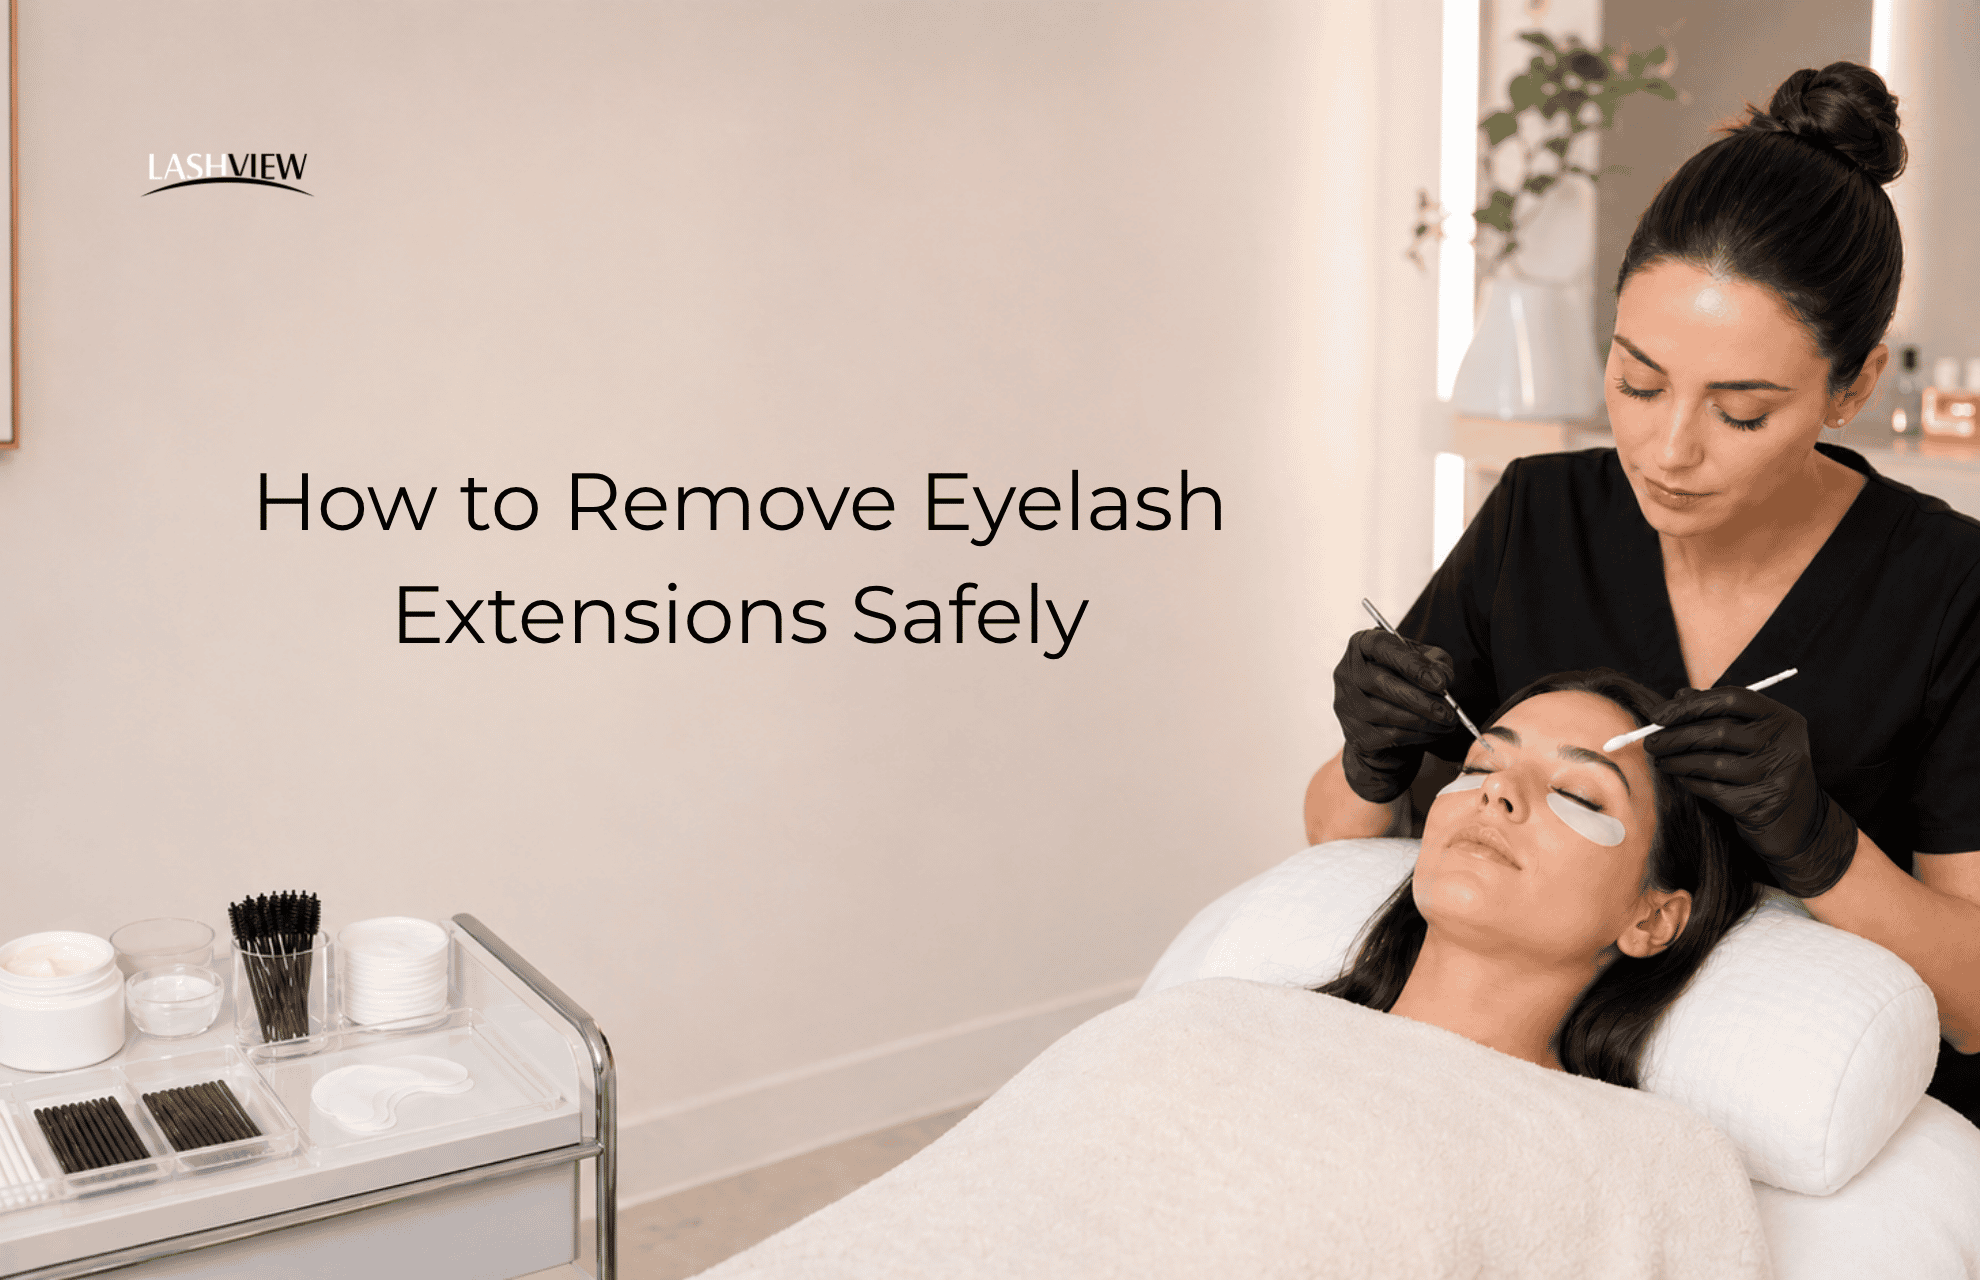
One of the earliest mistakes happens before the remover is even opened. If the workstation is not clean, the tools are not organized, or the eye area has not been properly prepared, the rest of the service becomes harder to control. California’s safety tips specifically tell consumers to look for a clean salon, clean and sanitized tools, and hand washing before the service begins. OSHA’s salon guidance likewise says tools should be washed with soap and water, then soaked in an EPA-registered disinfectant according to directions, rinsed, dried, and stored properly.
For lash techs, that means setup is not background work. It is part of the removal service itself. Eye pads, clean applicators, a clearly prepared workstation, and a calm working area all make the next step easier to control. This is also where your remover kit CTA fits naturally, because your LASHVIEW remover kit listing highlights that the kit includes 10g cream remover, cotton swabs, eye patches, and instructions.
View the Cream Remover Kit on Amazon
Mistake 2: Applying Too Much Product—or Putting It in the Wrong Place
Cream remover should be placed where it is needed: at the adhesive bond area. A common mistake is either overapplying the product or spreading it too broadly instead of keeping the application controlled. Professional tutorials consistently frame remover placement as targeted rather than heavy. The Lash Professional’s tutorial explains that the remover should be pushed gently toward the base so the product can activate where the bond needs to break down.
This is also where cream remover’s thicker texture becomes a real workflow advantage. Your LASHVIEW listing explicitly describes the cream as “easy to control” and says the thick consistency helps keep it from melting into the eyes or skin. That is a useful product angle, but it still depends on correct placement. Control only helps when the lash artist is placing the remover intentionally.
Mistake 3: Guessing the Timing Instead of Following Product Directions
Another common mistake is treating timing like a guess instead of a step. The more professional standard is to let the remover work according to directions, then reassess before moving forward. Professional tutorials describe the product as needing time to activate so the adhesive can dissolve more effectively. The same broader habit shows up in OSHA guidance for salon disinfectants as well: follow manufacturer directions rather than improvising timing or ratios.
That is the better teaching point for lash techs, too. Do not frame timing as one magic number for every remover and every appointment. Frame it as part of professional control: apply carefully, follow directions, reassess the release, and only then continue. Your LASHVIEW remover kit listing itself tells users to rely on the included detailed instructions, which supports that same “follow directions” standard.
Mistake 4: Tugging Instead of Letting the Remover Do the Work
A smoother removal should not feel forced. Once the adhesive bond has softened, the extensions should begin to release more easily. If the lashes are not releasing smoothly, that is usually a sign to pause and reassess timing or placement—not to pull harder. California’s eyelash safety tips explicitly tell consumers not to pull, pick, or frequently touch their lashes, and that same principle supports a more controlled professional removal mindset.
This is one of the best examples of a workflow mistake being more important than a product mistake. The Lash Professional tutorial describes lashes as gliding off once the remover has activated and the glue has broken down. That makes the teaching point simple: if the release is not smooth, stop and reassess instead of forcing the process.
Mistake 5: Skipping Cleanup and Residue Check After Removal
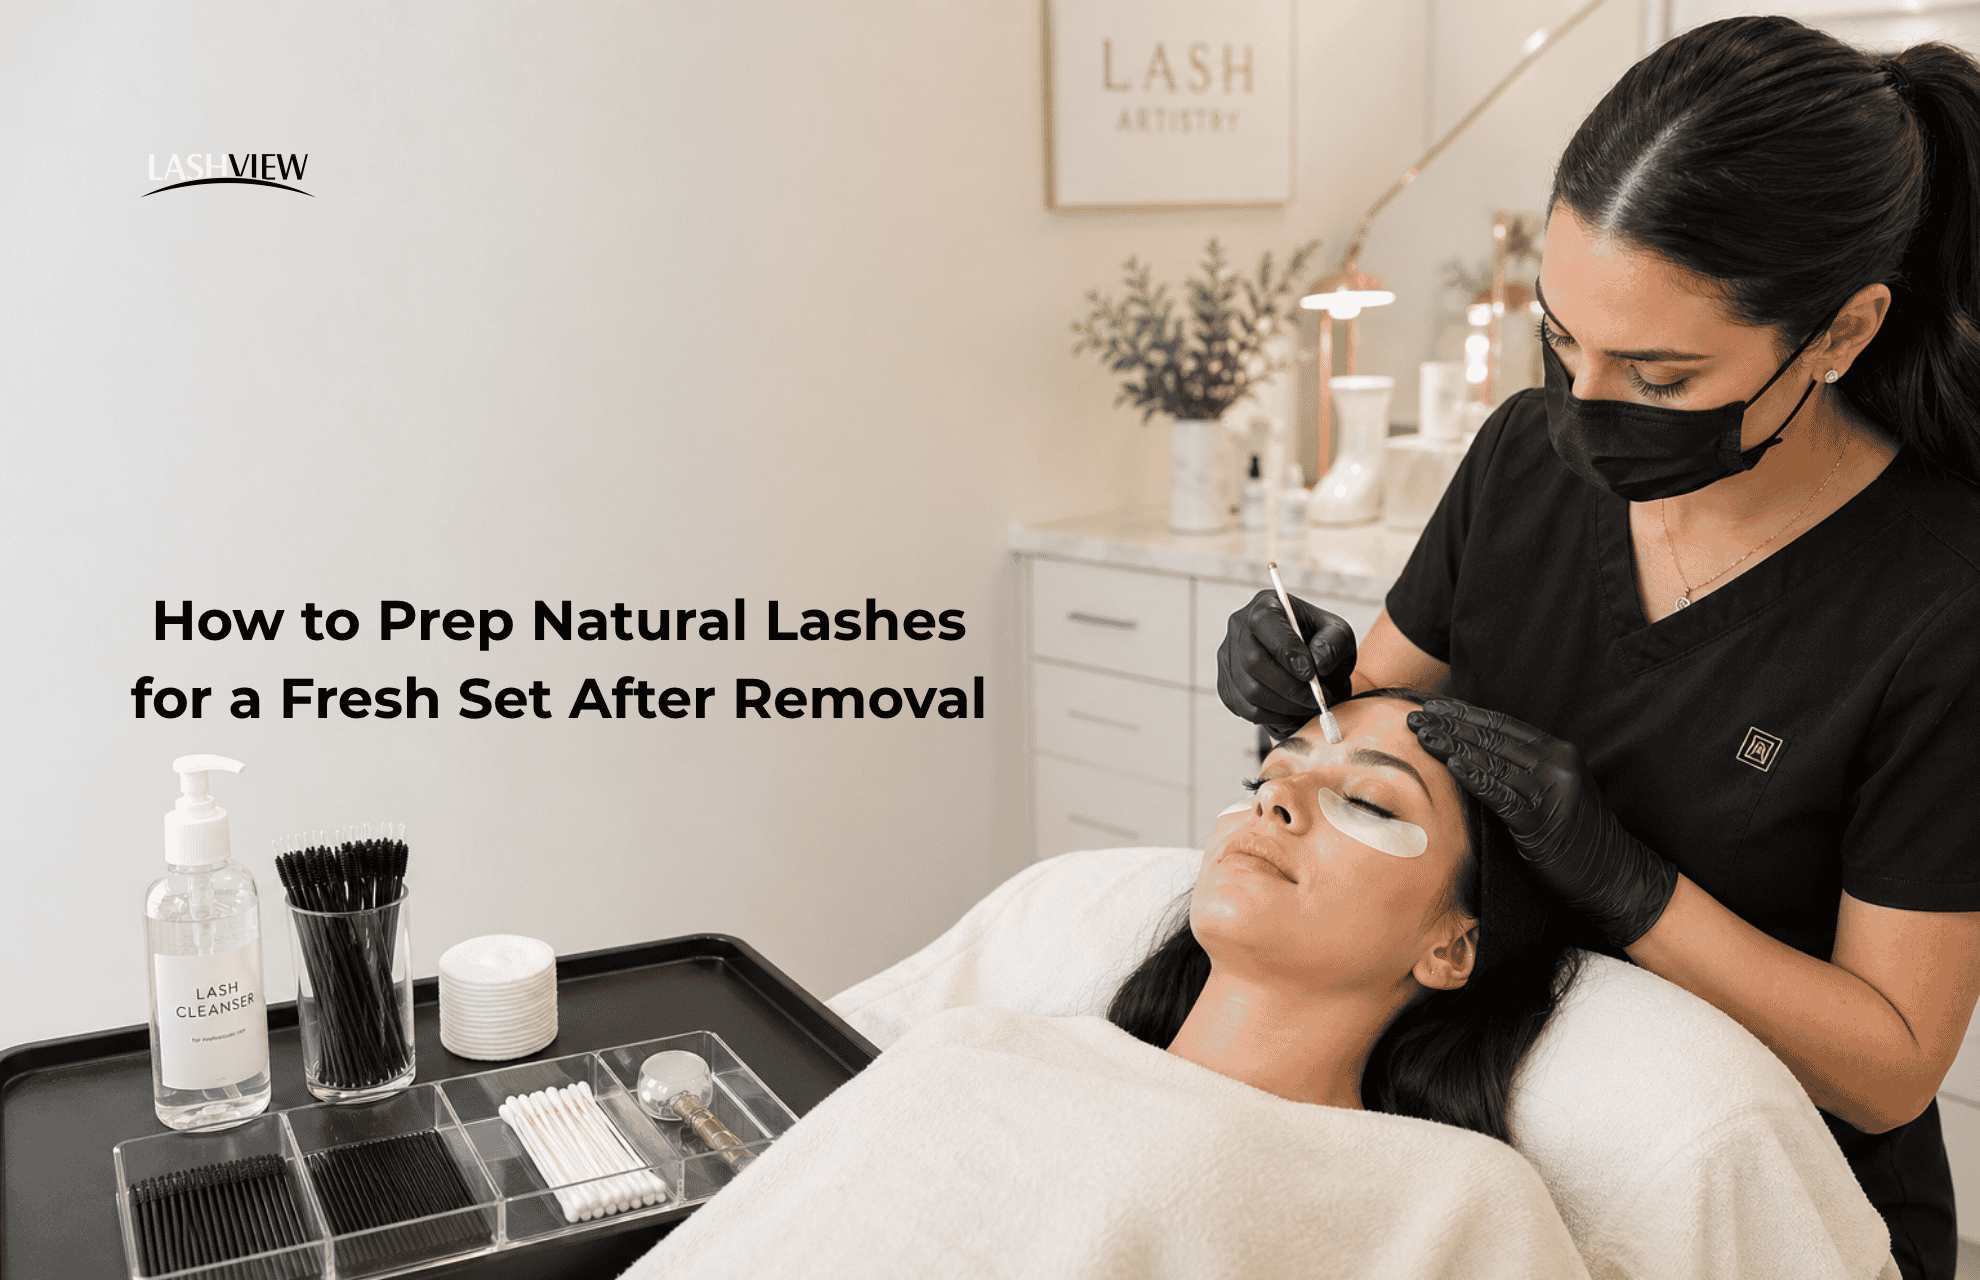
A lot of lash techs mentally end the service as soon as the extensions are off. But removal is not really complete until the residue is cleared and the natural lashes are reassessed. London Lash’s gel remover instructions say that if the artist wants to continue applying extensions in the same area, traces of remover should be cleaned away and prep products reapplied. Their broader prep guidance also repeatedly links cleaner, residue-free lashes with better bonding conditions for later services.
This is where many “mystery problems” begin. A lash line can look visually clean and still not be ready for the next service. That is why cleanup should be taught as part of removal, not as an optional extra. If the working base is not rebuilt after removal, prep becomes weaker, and the next service becomes harder to manage.
Read the Guide to Prepping Lashes for a Fresh Set
Mistake 6: Weak Sanitation Habits During or After Removal
Sanitation errors are often small and repetitive rather than dramatic. Tools may be wiped but not fully cleaned, disinfectant may be used without following directions, or cleaned tools may be stored carelessly. OSHA’s guidance is very specific here: wash tools with soap and water, soak them in an EPA-registered disinfectant according to directions, rinse them in clean water, dry them with a clean cloth, and store them properly. California’s safety materials likewise tell consumers to expect clean, sanitized tools and hand washing.
That matters in removal education because removal is still part of the same service environment. Professional-looking removal does not stop at product placement. It includes how the workstation looks, how tools are handled, and whether the whole appointment feels hygienic and controlled.
Mistake 7: Sending the Client Home Without Clear Aftercare Guidance
The final mistake is assuming the service ends when the client leaves the chair. Clients still need simple next-step guidance after removal. California’s safety tips tell consumers not to pull, pick, or frequently touch their lashes, while London Lash’s aftercare guidance warns that oil-based products can weaken adhesive bonds and recommends water-based, oil-free products where appropriate. Those ideas translate well into short, repeatable client instructions.
This is one of the easiest places for lash techs to improve the client experience. Clear aftercare does not need to be long. It just needs to be memorable: be gentle, avoid rubbing or pulling, keep products around the lash area simple, and contact a licensed professional if questions come up before the next appointment. That kind of guidance supports both professionalism and trust.
Read the Lash Removal Aftercare Guide
FAQ
Is cream remover safer than rushing with the wrong technique?
The safer, more professional approach is not just about the product. It is about controlled setup, careful placement, following directions, and proper cleanup. Public safety guidance and professional tutorials both support that broader workflow approach.
How much remover is too much?
The more useful rule is to apply a controlled amount to the adhesive bond area rather than overloading the lashes. Professional tutorials consistently emphasize targeted placement.
Should the remover sit longer if lashes are not releasing?
The better teaching point is to follow directions, reassess, and avoid forcing the process. Timing should come from the product directions and the service condition, not guesswork.
Do techs need to cleanse lashes after removal?
Yes. Professional prep content repeatedly links cleaner, residue-free lashes with better bonding conditions for later services.
What sanitation step is most often skipped?
A common weak point is incomplete tool sanitation. OSHA specifically says tools should be washed, disinfected according to directions, rinsed, dried, and stored properly.
What should clients be told before they leave?
Clients should get simple instructions to avoid rubbing, pulling, or frequent touching, and to keep the area gentle and low-friction after the service. California’s safety tips make the same core point.
Most lash removal mistakes are not dramatic. They are small process errors that stack up. Better setup, better placement, better timing, cleaner sanitation habits, and clearer client guidance usually do more for a removal service than simply switching products. That is what makes this kind of troubleshooting article valuable for lash techs: it turns removal into a more teachable, repeatable professional workflow rather than just a product step.