
Using cream eyelash remover safely is not just about dissolving adhesive. For licensed lash professionals, it starts with a clean setup, proper eye-area protection, controlled placement, and a clear plan for what happens after the extensions come off. In professional lash education, remover use is usually taught as part of a full workflow rather than as a single product step.
A good removal service should feel calm, clean, and intentional from beginning to end. That matters even more around the eye area, where product control and gentle handling are essential. FDA guidance notes that false eyelashes, eyelash extensions, and their adhesives are cosmetic products, and it specifically reminds consumers that the eyelids are delicate. California’s safety guidance also emphasizes licensed providers, clean and sanitized tools, and hand washing.
Before You Start: Professional Use, Setup, and Eye Protection
Before the cream remover touches the lashes, the service setup should already be in place. That means a clean workstation, organized tools, and a protected eye area. In professional settings, removal should be treated as a real service step, not a rushed add-on at the end of the appointment. California’s eyelash safety tips tell consumers to check that the technician is licensed and that tools are clean and sanitized; OSHA’s salon guidance also stresses proper cleaning and disinfecting procedures for tools.
For lash techs, this is where the service tone is set. If the setup feels clean and controlled, the removal usually feels more controlled too. If the setup is rushed or disorganized, product handling tends to become less precise. That is one reason removal should begin with eye pads, clean applicators, and a clearly prepared working zone.
View the Cream Remover Kit on Amazon
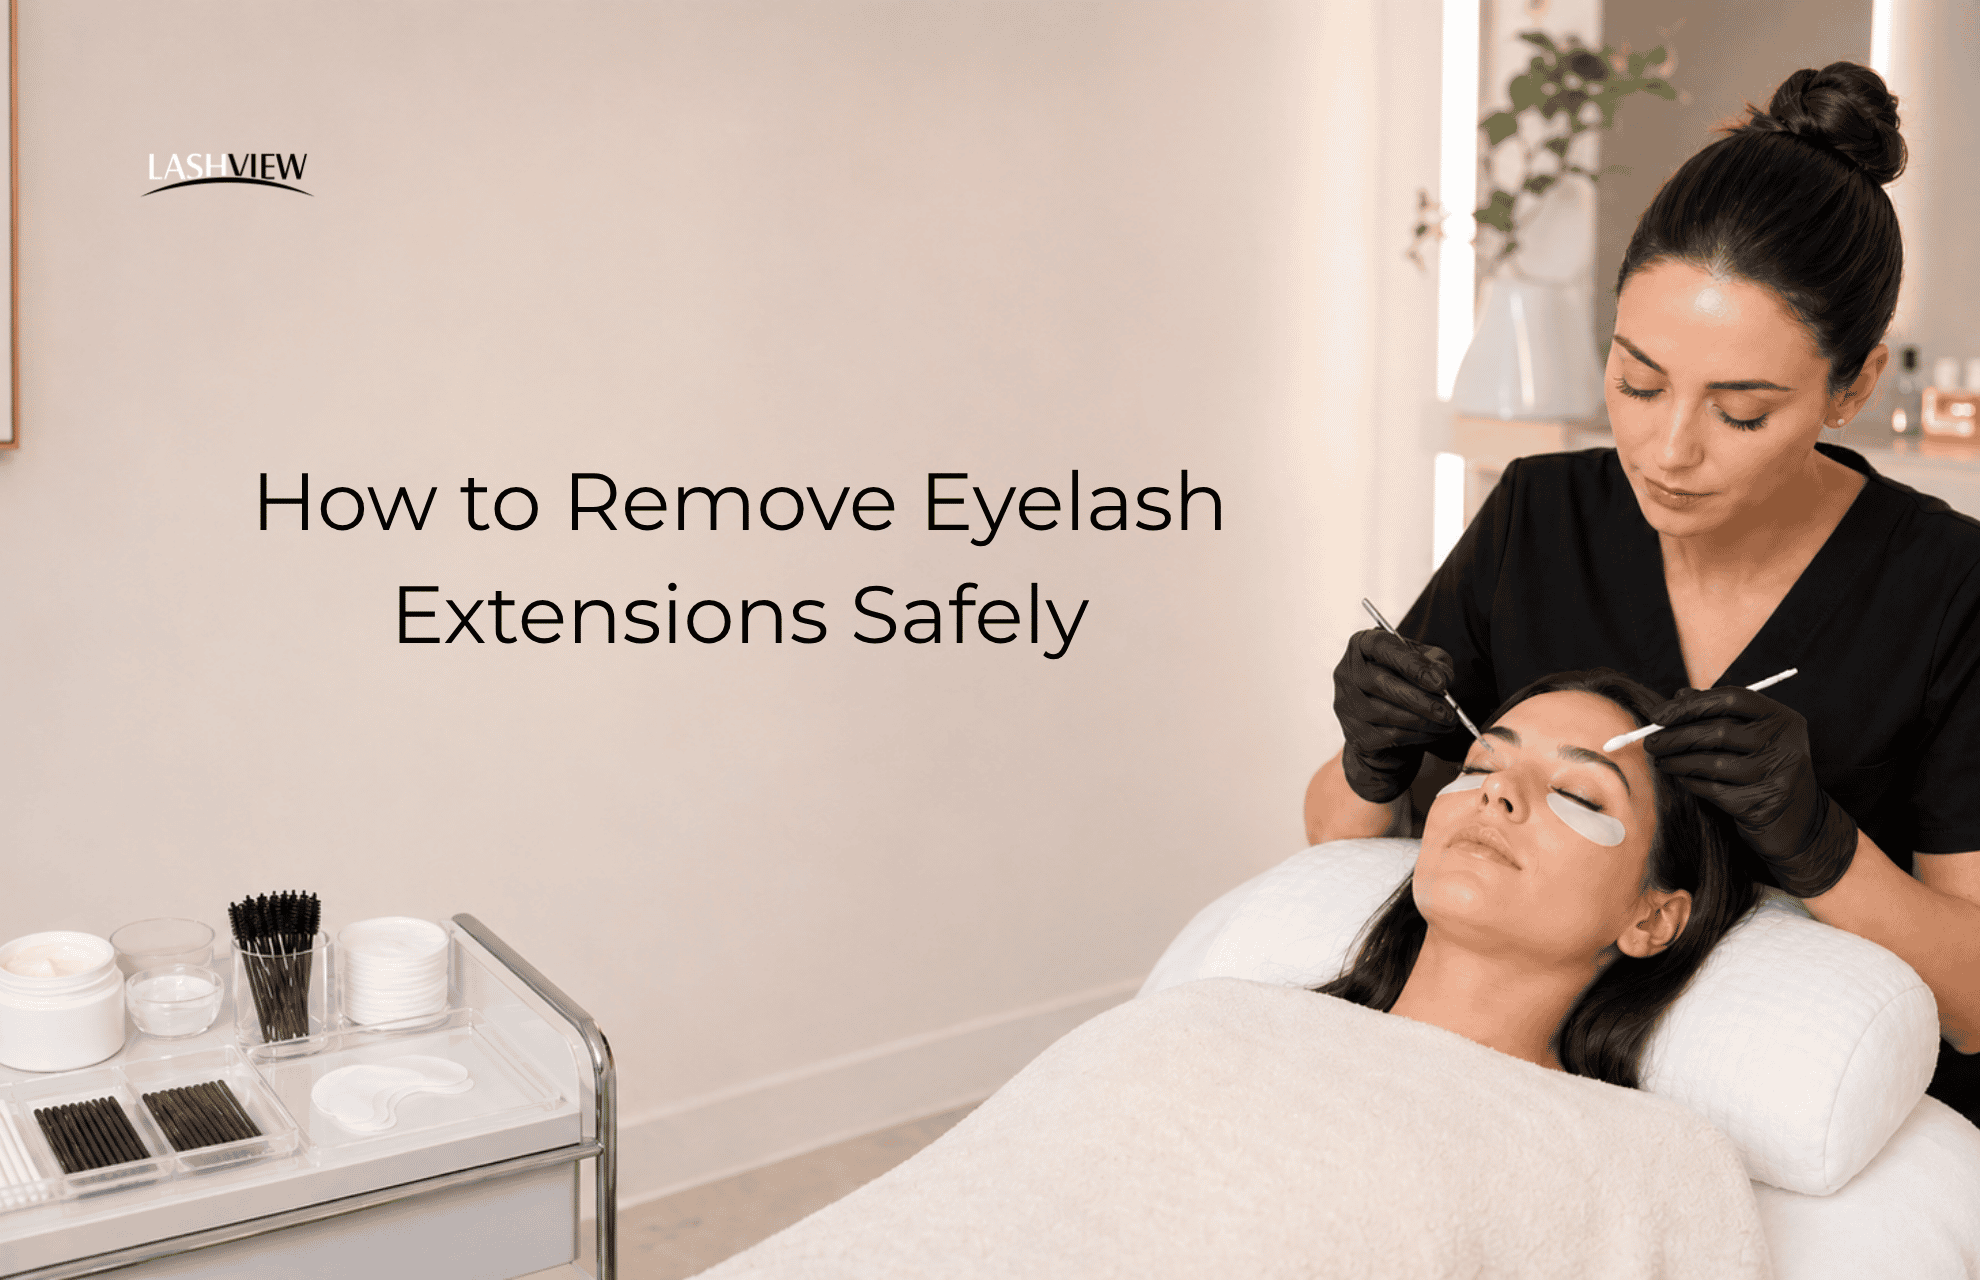
Step 1: Protect the Eye Area and Isolate the Working Zone
The first practical step is protecting the eye area. Professional tutorials typically start by placing under-eye pads and creating a clear working area before remover is applied. This matters because remover should be placed deliberately, not spread casually across the lash area.
This is also where a more professional mindset shows up. Instead of rushing straight to the product, the lash artist makes the service easier to control by preparing the area first. Around the eyes, that extra control matters. FDA’s eye cosmetic safety page is a useful backdrop here because it explains that the eye area is particularly delicate and that irritation or allergic reactions can be especially troublesome in this region.
Step 2: Apply Cream Remover to the Adhesive Bonds
Once the eye area is protected, cream remover should be applied where it is actually needed: at the adhesive bond area. Professional tutorials consistently describe remover placement as targeted rather than broad. The Lash Professional’s tutorial, for example, describes pushing the cream remover gently toward the base of the lash extension so the product can activate where the bond needs to break down.
This is why “more product” is not the right way to think about removal. In a professional workflow, control matters more than excess. A controlled amount applied to the right area usually creates a cleaner service than a heavy, unnecessary application. Your LASHVIEW remover listing also fits this framing because it presents the remover as a professional-use product and emphasizes precision control.
Step 3: Allow the Product to Work According to Directions
After the remover is placed, the next step is patience. This is where a lot of newer lash techs make the service harder than it needs to be. Instead of allowing the product to work according to directions, they try to speed up the appointment by moving too quickly into the next step.
Professional tutorials frame timing as part of the technique, not just part of waiting. The Lash Professional explains that the remover should be allowed to activate so the adhesive can dissolve, and the extensions can release more easily. OSHA’s sanitation guidance, while focused on disinfectants and tools, reinforces the same broader professional habit: follow manufacturer directions rather than improvising timing or handling.
That is the more professional standard to use here as well. Do not teach this as “leave it on for exactly one universal amount of time.” Teach it as: place carefully, follow directions, reassess, and move forward only when the remover has done its job.
Step 4: Remove Extensions Gently—Never Force the Process
A clean removal should feel smooth, not forced. Once the adhesive bond has softened, extensions should begin to release more easily. If they do not, that is usually a sign to pause and reassess placement, timing, or residue—not to pull harder.
This point is important in both training and client safety. California’s safety tips explicitly tell consumers not to pull, pick, or frequently touch their lashes, and that general logic also supports a more controlled professional removal mindset. Professional remover tutorials similarly describe extensions as releasing more smoothly once the product has had time to work.
The more useful teaching point here is simple: if the lashes are not releasing smoothly, stop and reassess. A calmer removal is usually a better removal.
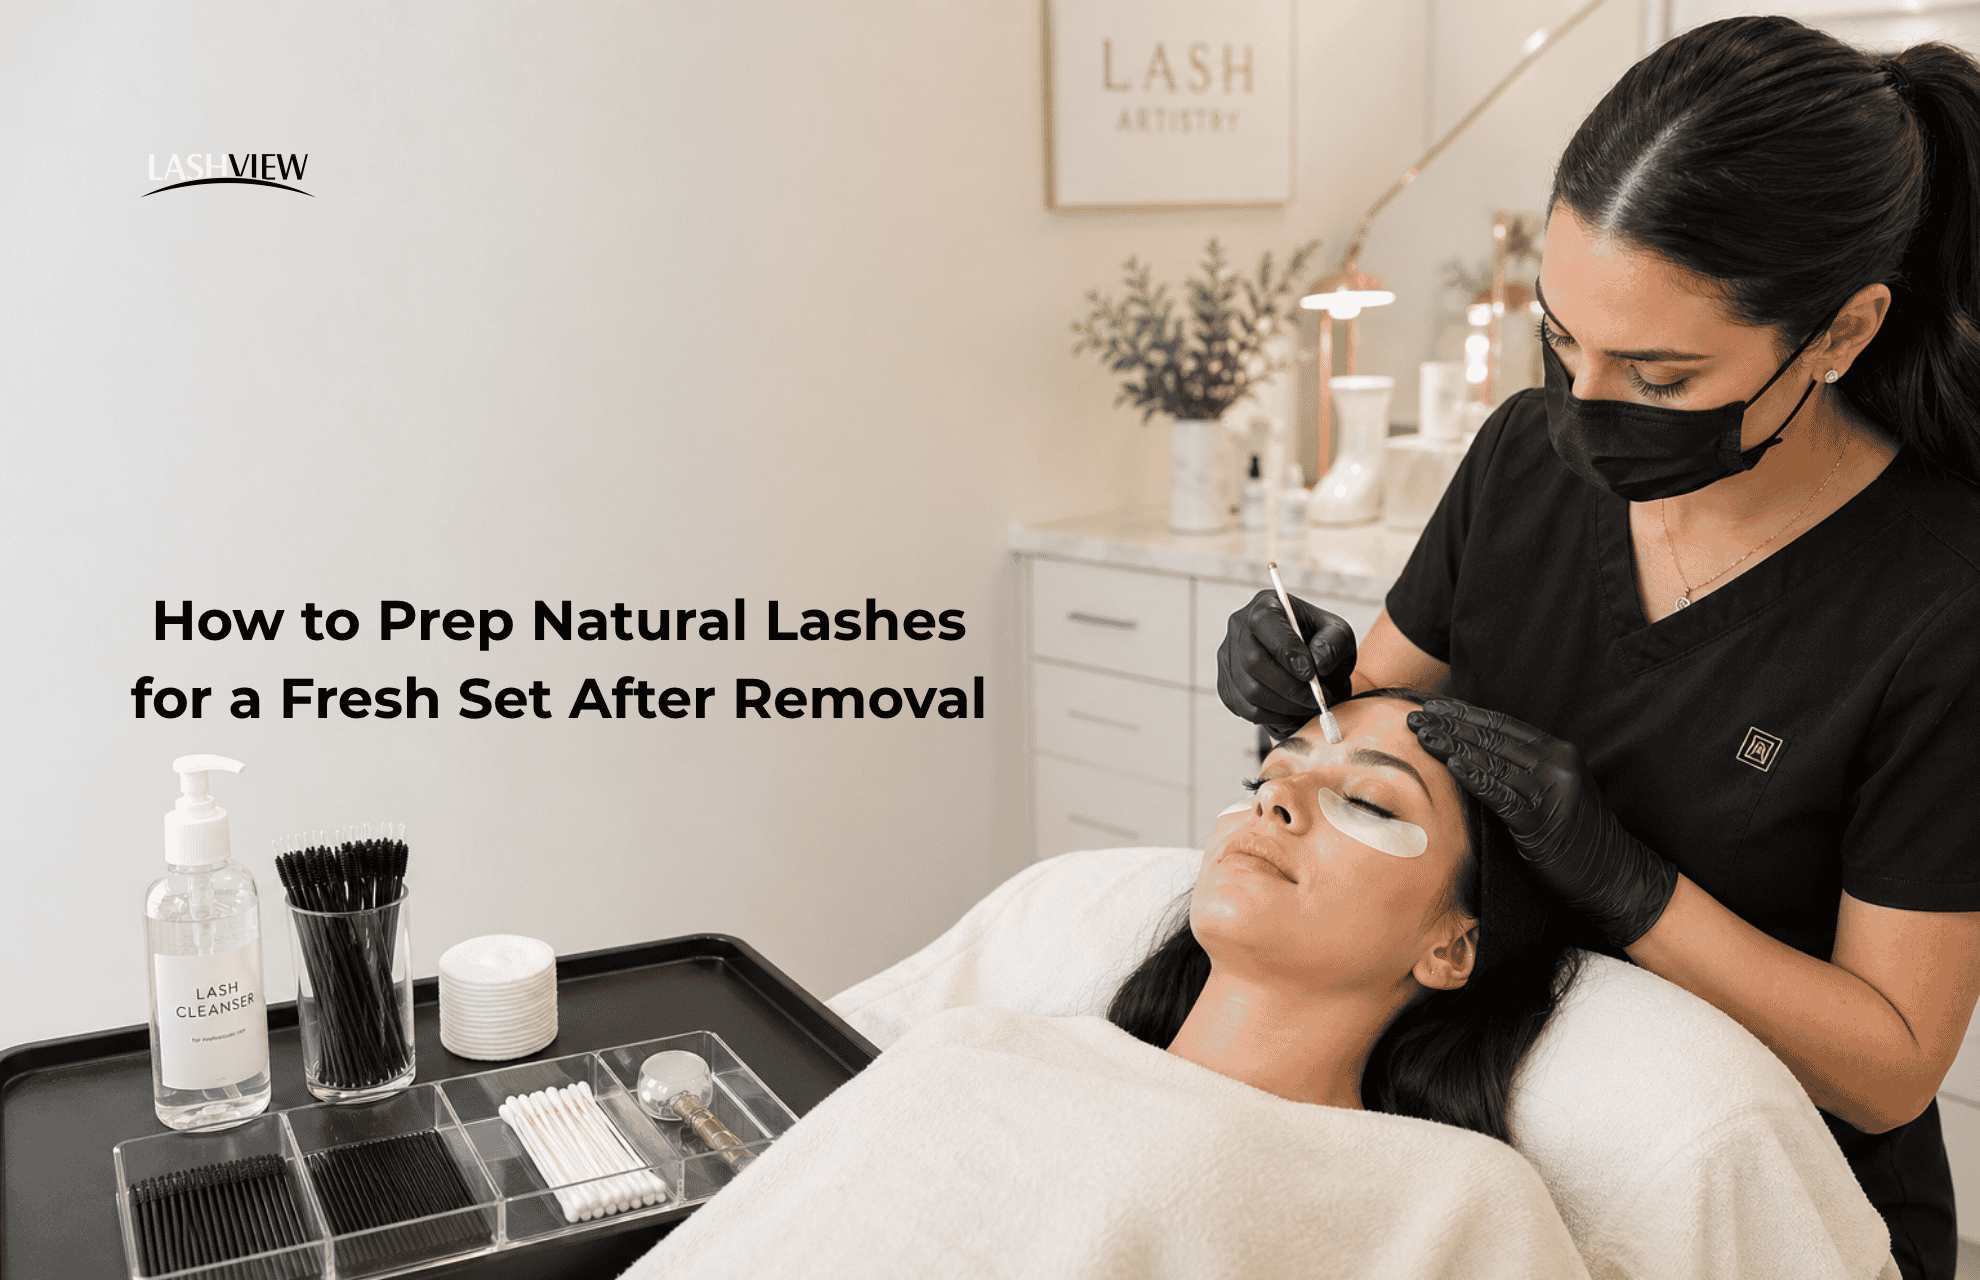
Step 5: Clean Away Residue and Reassess the Natural Lashes
Removal should not end the moment the extensions come off. A proper removal workflow also includes removing traces of remover, reassessing the natural lashes, and clearing the area for whatever comes next. This is one of the biggest differences between a rushed service and a professional one.
Professional prep content repeatedly connects residue, oils, and makeup remnants to weaker bonding conditions later. London Lash’s prep content, for example, stresses that natural lashes should be clean, dry, and free from oils or makeup residue before a new set is applied. Its gel remover instructions also note that if the artist wants to continue applying extensions in the same area, any traces of remover should be cleaned away and prep products reapplied.
So the real question after removal is not only “Are the extensions off?” It is also “Is the working base clean enough for the next decision?”
Read the Guide to Prepping Lashes for a Fresh Set
Step 6: Decide What Happens Next—Fresh Set, Rebook, or Further Prep
This is where removal becomes a service judgment, not just a technical process. Some appointments may move naturally into a fresh-set prep. Others may need additional cleanup, more assessment, or a better-timed rebook. The more professional decision is not always the fastest next step.
This is also where lash techs can position themselves more like service professionals than product operators. A fresh set should begin when the lashes are properly prepped, not simply because the old set is gone. California’s consumer safety guidance supports this more careful service tone by consistently emphasizing licensed providers, clean tools, and safe working conditions.
Common Technique Errors to Avoid
Even with the right remover, the same mistakes show up again and again: starting with a weak setup, placing too much product, rushing timing, forcing removal, or skipping cleanup. In most cases, these are workflow problems rather than product problems.
That is one reason cream remover is easier to frame as a training-friendly option in many professional settings. Because it is thicker and more controlled, it often supports a calmer service flow than a more fluid remover. Your Amazon listings also reinforce this positioning by emphasizing cream texture, precision control, and professional use.
FAQ
Do lash techs always need eye pads when using cream remover?
Professional tutorials usually include eye protection as a standard part of the setup before remover is applied.
How much cream remover should be used?
The better teaching point is to use a controlled amount applied to the adhesive bond area rather than overloading the lashes. Professional tutorials emphasize targeted placement over excess product.
Can clients use cream remover at home?
For professional-quality removal, it is safer to position the use of a remover as a service performed by a trained professional rather than something clients should improvise on their own. California’s safety guidance strongly centers licensed providers in lash services.
Should lashes be cleansed after removal?
Yes. Professional prep guidance repeatedly links cleaner, residue-free lashes with better conditions for the next service.
When can a client get a fresh set after removal?
That depends on how clean and ready the natural lashes are after removal and on the lash artist’s professional judgment. This is a service-readiness decision, not something that should be treated as automatic.
A good lash removal service should feel controlled from start to finish. When lash techs protect the eye area, place cream remover carefully, follow directions, and clean thoroughly afterward, removal becomes more than a takedown step—it becomes the setup for a better next service. That is the standard worth teaching, because it supports cleaner work, better client communication, and a more professional lash workflow overall.